Only three more school days before Summer vacation begins here! And no, I'm not ready yet! The past couple of weeks have been extremely busy - I thought with the kids growing up things would get easier but it's quite the contrary, bringing them from one place to the other, from one activity, party, event to the next has been challenging.
More than once during those past few weeks, I've been wanting to escape to our little place near the beach. Not because the weather has been that great (which it hasn't) but just because of the peace the sea, the sand, the wind, the air seem to bring along.
I love all of it... except maybe for the sand everyone brings into the house, including me.
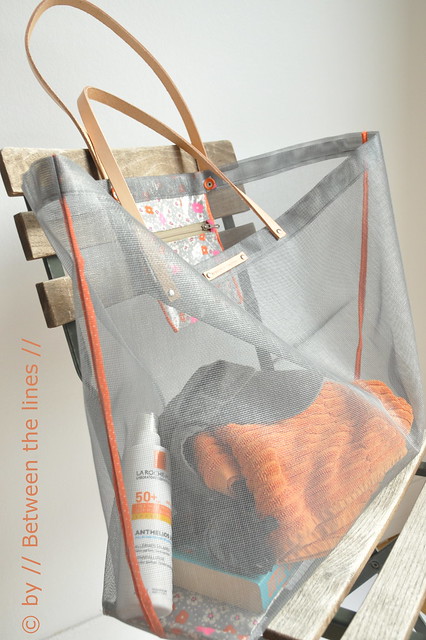
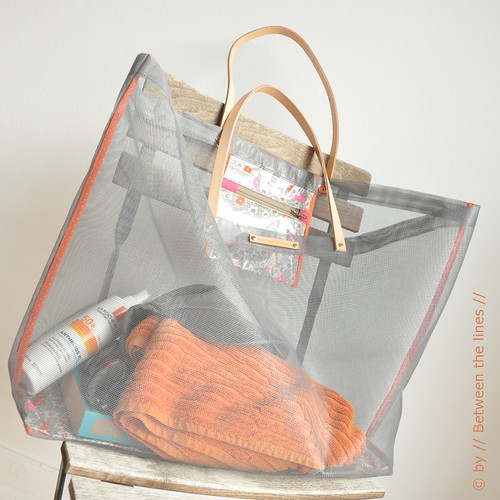
But now I've got the solution for a sand-free home. As off now we'll be using this special beach bag made out of... window screen material! Yes, you saw that right! The exact same kind of screen used to keep away mosquitoes and other annoying bugs! You can buy it by the yard/meter at any hardware store.
I came up with this idea after seeing a lady at the Friday morning market with the most interesting mesh bag. As a matter of fact, the bag was so interesting I started talking to her. It was over 15 years old and still in perfect shape and no, they weren't for sale anymore. But it got me thinking...
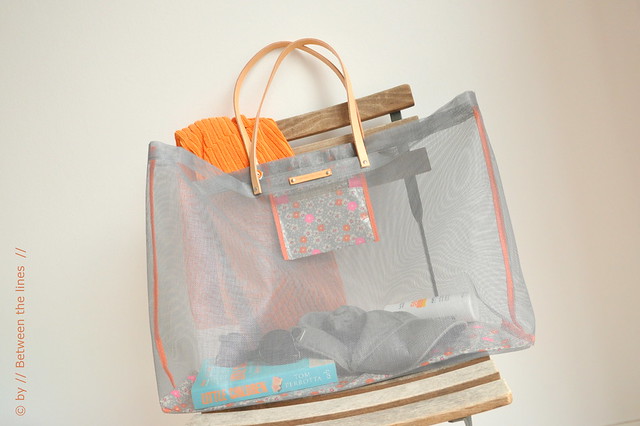
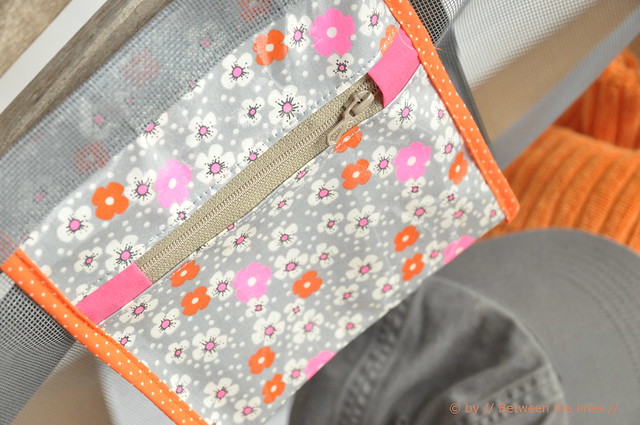
So here you got it, with a tutorial and everything. The original idea was much simpler than what I eventually came up with. As I went, I added an oilcloth zippered pouch to safely put away those keys and some loose change for an ice cream. I also covered all seams with fabric bias tape and gave the bag an oilcloth bottom for sturdiness, which is attached to the bag at one side only. That way, you can lift it and all sand can be shaken out. Sure enough, sand will come in, but eventually, it also will come out with this type of mesh bag. Wet towels can air and everything put in the bag is within reach and visible.
So here's a new tutorial - it's been a while - I hope you'll like this bag as much as I do. And as it turns out, this is a project you could easily make re-purposing stuff you may have lying around: and old mesh window screen, an old oil cloth table cloth, an unused belt for the handles, ...
This is what you'll need:
- window screen material (moustiquaire in French - muggengaas in Dutch), new or used, 66 x100 cm
- a piece of plastic for the bottom - the Clover ones work fine, but any other piece of plastic/wood/ board would work evenly well. 13 x 51 cm (it can be cut to size)
- a piece of oilcloth, new or used, enough to cover the board and to make a zippered pouch (optional)
- bias tape, enough to cover side and bottom seams, and the zippered pouch side seams
- 15 cm zipper for the zippered pouch (optional)
- leather strip for handles (note: if you can't find any leather, you can use oilcloth or a piece of fabric to make your own handles)
- rivets to attach handles
- hole punch
- scissors, thread
- sewing machine
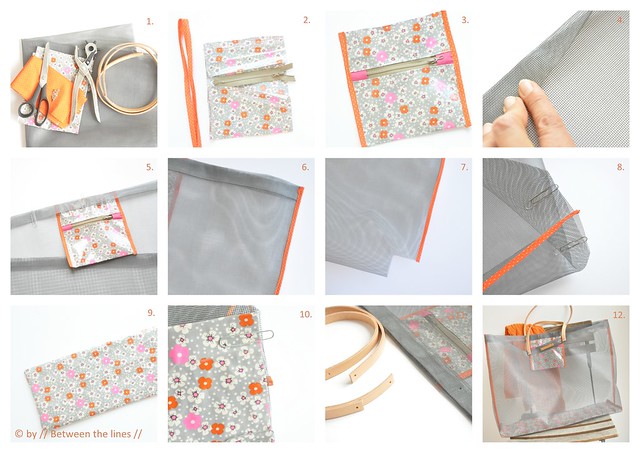
Instructions
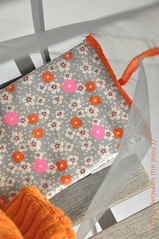
Zippered pouch (optional): (pictures 2 and 3)
1. Cut the following out of oil cloth:
- 1 rectangle, sized 17 x 6 cm
- 1 rectangle, sized 17 x 28 cm2. With the zipper facing the right side of the smallest piece of oilcloth, attach one side of the zipper. Fold over and top stitch. Repeat for the other zipper half and the largest rectangle. Top stitch.
3. Fold in half to form pocket and close side seams on the right side, about 0.5 cm from edge. Finish seam with bias tape (if you're a confident sewer you can do this in one go). Repeat for the other side seam: close on right side and cover with bias tape. No need to sew the top of the pocket closed as this part will be incorporated in the top hem of the bag.
Bag Assembly
1. Top hems (pic. 4-5):
At the short end of the window screen material, fold in 3 cm and fold over again (pic. 4). Use a bone folder to make the crease, if necessary. Secure with paperclips. Top stitch into place. Repeat at the other short end, but now making sure to incorporate the zippered pouch, nicely centered. Secure with paperclips. Top stitch into place (pic. 5).
2. Side seams (pic. 6):
Fold the screen material in half, with the right sides facing. Close the side seams, 0.5cm from the edge. Next, bind side seams with fabric bias tape (pic. 6)
3. Boxed corners (pic. 7-8):
Sew boxed corners.
Note: to avoid having to sew through too many layers you can pre-cut the boxed corners. If you prefer to play it safely, you can cut away the excess material after sewing the boxed corners.
If you wish to cut before sewing the boxed corners cut away a square with sides equal to the width of the panel divided by two, however don't forget to take into account seem allowance! (so if panel is 6cm wide, take off a square with sides equal to 5cm)
4. Bag bottom stabilizer (pic. 9):
Make an oil cloth cover for the plastic bag bottom stabilizer, by sewing two pieces of oil cloth together, the size of the board + 1cm of seam allowance on all sides, leaving one of the short ends open. Turn over, insert the board.
5. Attaching bag bottom stabilizer to bag (pic.10):
Align the open end with one of the boxed corners as shown in pic. 10. Sew together. Bind seams with fabric bias tape. Bind the other boxed corner.
Note: the plastic board is attached to bag on one side only!
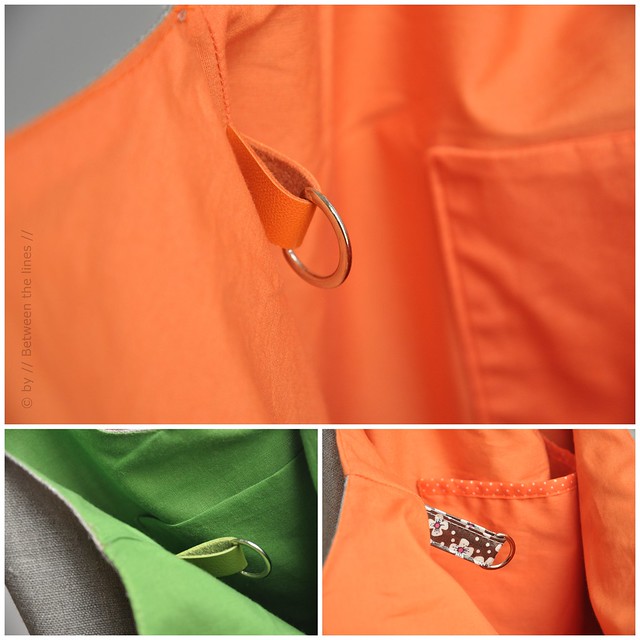
6. Attaching handles (pic. 11):Determine where the handles need to come. Punch holes correspondingly, in both the bag and the handles. Attach with rivets.
Note: As the size of the rivets never will perfectly match the thickness of the materials used, compensate the difference by using a small piece of leather or other material in the back. This will also add extra strength to the materials used.
And that's it!!
I'm wishing you a happy Summer...
Please note, this tutorial is intended for personal use only. Therefore, do not reproduce, sell or commercialize in any form. Thanks for understanding!
If you made something using a tutorial found on this blog or if you got inspired by something you found here, make sure to post your pictures here.


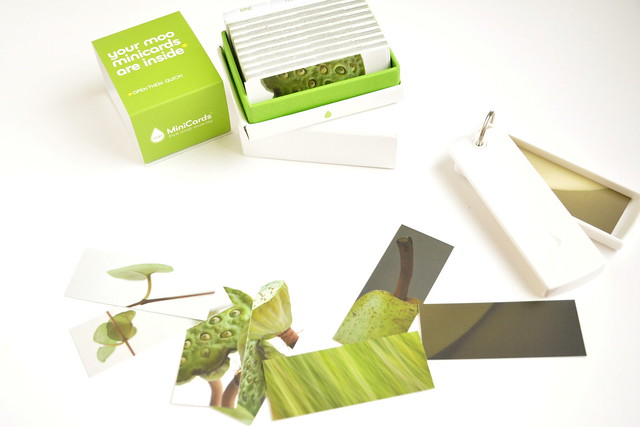


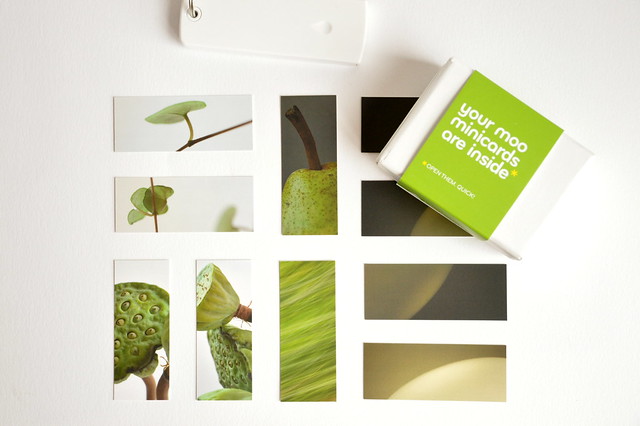

Frances said...
rebecca said...
Congratulations, ladies! I'll forward your contact information to the people at MOO and they will get in touch with you shortly!
Thanks for participating to all!
Wishing you a happy Monday!
xo, P.